
The Journey Begins… Again
Over the past 12 months, I’ve picked up the interest in surface pattern design again. Buying an ebook here and there, a couple of online courses, and with the help of Skillshare, my skills have developed for the better. It was trying to complete one of these courses that I realised that I needed to go back to basics. To learn not only the fundamentals of surface pattern design but also how to draw, the art of composition and how to work in Illustrator.
Life has been very busy, and I haven’t been able to dedicate as much time to this practice as I would like. Yet, I’m convinced that there is a joy (and a great way to develop your confidence) in taking things at a slower place and letting your passion develop over time.
Drawing a repeat pattern – the cutting paper way
One of the things that has certainly taken its time is figuring out how to draw a repeating pattern on paper. This process has eluded me for many years. For some reason, I just could not see how it worked visually. I’ve bought surface pattern textile books, read websites with examples – and nope, I could not make repeatable patterns. For the longest time, I have been unable to figure out where I was going wrong.
It was watching an Instagram video one Sunday afternoon that changed this. The surface pattern designer, Sanna Jonsson, numbered their paper into quarters and briefly showed how to repeat a pattern by cutting the paper into four and moving the pieces around. Remembering that I had a Skillshare subscription – I was able to watch Sanna’s full video on creating a manual repeat pattern. Check it out here if you get the chance.
Figuring out how to create a manual repeat has been a confidence booster. At last, I felt like I finally understood one of the founding principles of surface pattern design. Yet I find it fiddly. Trying to match up the paper once your moving it around gives me a certain level of anxiety.
Drawing a repeat pattern – no cutting paper method
Well, another Sunday, another day scrolling Instagram, and I came across an I hadn’t seen for a while. I adore the bold and vibrant work of Polina Oshu, from Riga. Clicking through her links, I stumbled across her YouTube channel and how to draw a repeat without cutting paper. Once I had a spare couple of hours to myself, I decided to follow Polina’s video tutorial and have a go.
It was a much easier way to create a manual repeat pattern. Granted, I still had the lining up the paper type of anxiety, yet it felt a more natural process for me.
How to draw a manual surface pattern design without cutting paper
You need the following materials to create a manual surface pattern design without cutting paper:
- Paper or card of your choice, colour and size.
- Paper cutter or a pair of scissors
- Ruler
- Mark making materials that you enjoy using – such as colouring pens, pencils, pastels, paint pens
- Your creativity!
My materials
I used the following to create this pattern:
- Derwent Line Maker 0.5 Black
- Derwent Academy Twin Tip (Brush) Markers
- A3 recycled white cartridge paper (140gsm) from eBay
- Ruler
- Paper Trimmer
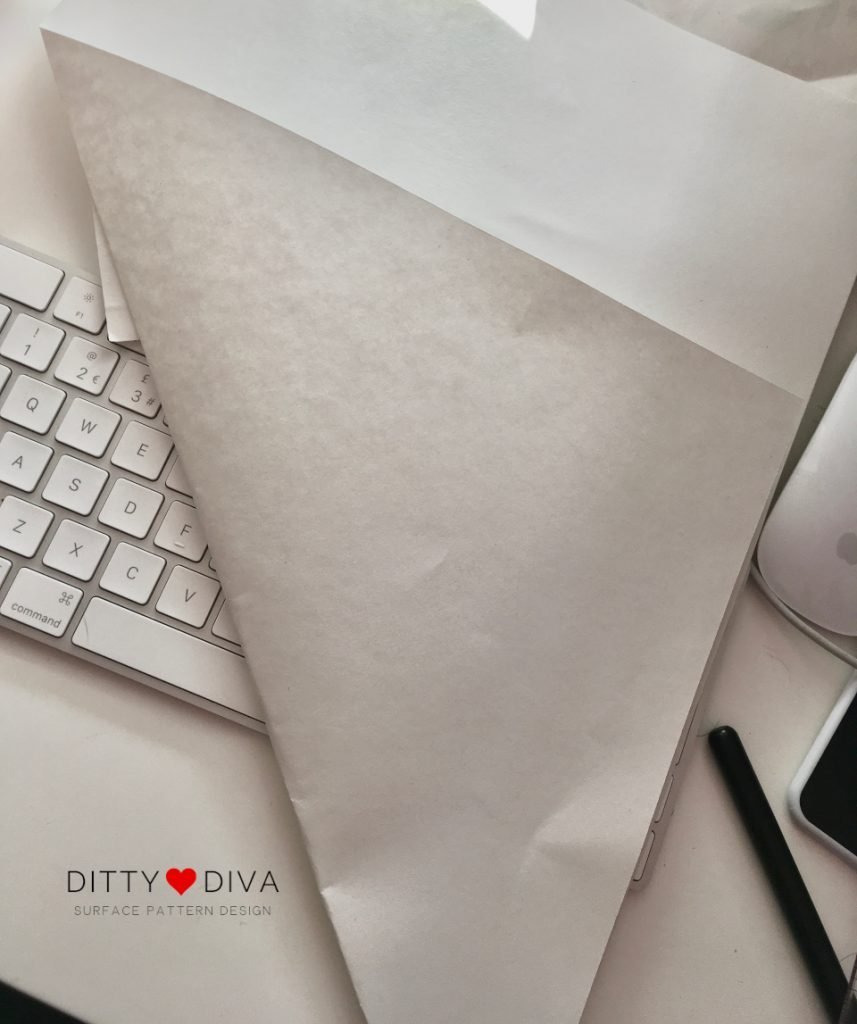
Step 1
For this example, I cut a piece of A3 recycled white cartridge paper (140gsm) that I found on eBay into a 28cm2 square. This paper is quite stiff and created a challenge when folding over later. I folded the paper diagonally to mark where the square of the paper was and then cut along the straight line at the top.
Step 2
Start to draw the elements of your pattern in the middle of the paper, leaving space around all of the sides, a bit like a blank border.
Step 3
This is where the process of this pattern creation becomes interesting. Turn your paper or card so that the pattern faces the desk (so you see the back of the paper facing you). Fold the paper in half and then open this out again. Next, fold over each side of the horizontal into the centre of the paper, which will look like a double fold-out (or doors). I imagine adding some washi tape between the two sides will help keep it in place.
Step 4
Continue to draw your pattern over the folds, again making sure you don’t draw in the blank border at the top and bottom of the paper.
Step 5
Once you have drawn the elements for the last step, unfold the paper out to the full square once again. Repeat step 3, but this time, half the paper square the other way, open it back out and then fold outwards and then fold back inwards towards the centre line you have just created. Again, you’ll have what looks like two doors you can open.
Step 6
Now draw the remaining pattern in the other part of the blank border. Once you have completed this step, open your paper or card back out to a full square. And there you go… you have a repeating pattern square.
If you are a visual person like me, I recommend you check out Polina’s YouTube video on how to do this exercise.
The End Result
Here’s my first attempt:
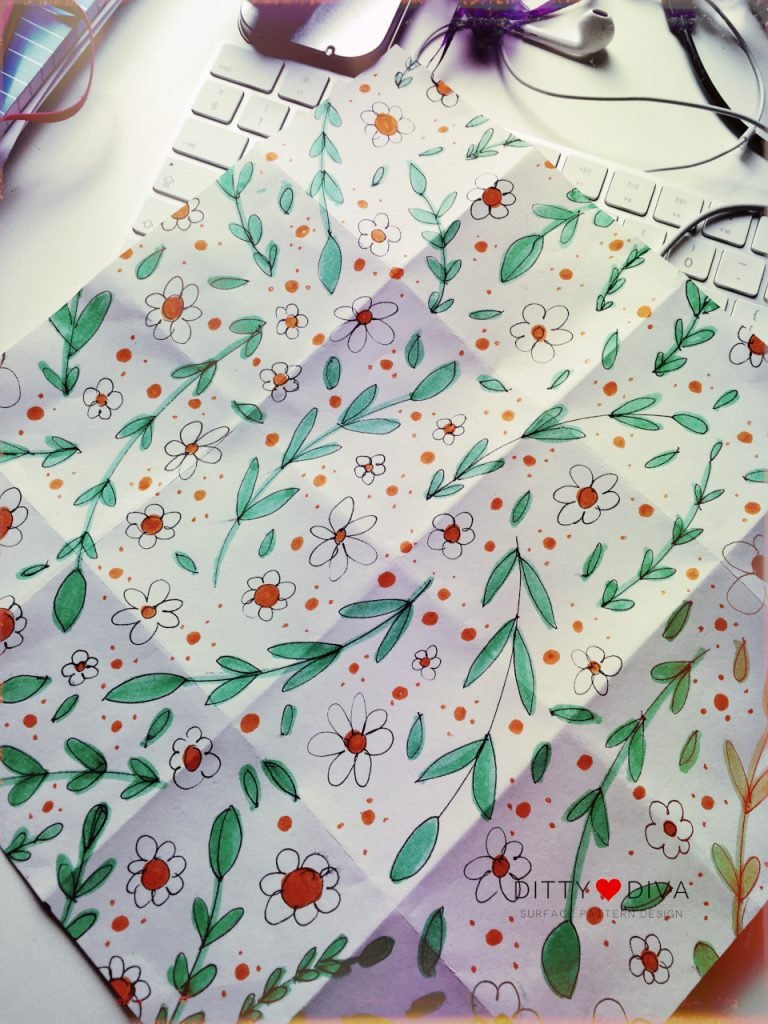
I am quite happy with the outcome of the final piece. The struggle was real in attempting to get the edges of the paper to line up straight when folding over. I think this is more about my own technique that needs to be improved (tips welcomed!) on rather than this particular way of making a repeat. The next step is to digitise it and see if it aligns well in Illustrator. Another lesson for me to learn.
How about you? Do you create hand-drawn pattern designs this way, or prefer the cutting and quartering method? Any tips you would like to share? Comment below!